Vegan Norwegian waffles

Who says you need eggs and dairy to make perfect waffles? These vegan waffles are light, crispy on the outside, and wonderfully fluffy on the inside — thanks to the magic of aquafaba. Whether you’re serving them as a sweet afternoon snack or a cozy dessert, this simple recipe delivers delicious results. Pair them with vegan sour cream and jam for a classic touch, or get creative with your favorite toppings. Enjoy a plant-based take on a timeless favourite!

Ingredients

  • 1 1/2 dl aquafaba
  • 1 dl sugar
  • 5 dl soy milk
  • 4 tbsp plant-based oil (e.g., canola or sunflower)
  • 400 g sifted wheat flour
  • 2 tsp baking powder
  • 1 tsp salt
  • 1 tsp cardamom

Instructions

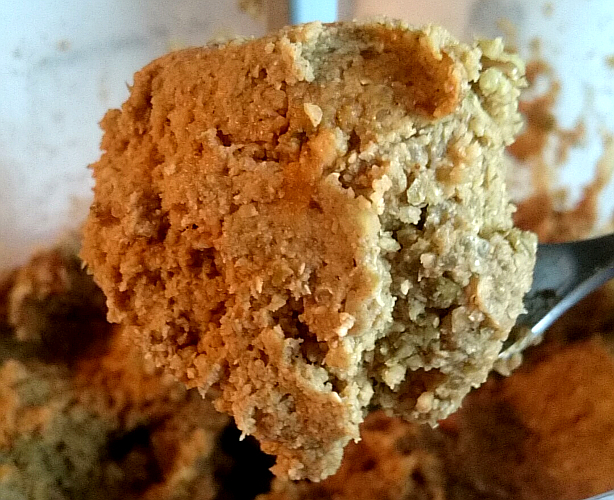
Whisk the aquafaba and sugar until stiff. I recommend using an electric mixer; otherwise, it will take a very long time. With an electric mixer, it should take around five minutes. The colour should be white, and the consistency should be velvety smooth and not runny.

Mix the soy milk and oil together, then gradually add them to the aquafaba and sugar mix, while stirring gently. Next, mix all the dry ingredients. Use a sieve and sift in a little of the dry mixture at a time, stirring thoroughly. You can also use the electric mixer on the lowest setting. Make sure the batter doesn’t get lumpy. Once everything is combined, let the batter rest for about 30 minutes.

Bake the waffles in a greased waffle iron until golden. Serve fresh with topping of your choice.

This batter also works well for breakfast pancakes.

A white plate with golden  waffles with sourcream and jam. Up in the right corner you can see a Moomin mug with black coffee.
Photo: Mittens and Sunglasses © 2025

Mung bean and quinoa burgers

I love vegan homemade burgers! These burgers are full of proteins, fiber and good fats, and perfect with your Sunday dinner! Or any other day, for that matter. The recipe makes about 6-7 burgers.

Ingredients

190 grams mung beans (readily boiled)
50 grams quiona
100 grams unsalted cashew nuts
1 tea spoon garam masala
1 tea spoon ground ginger
1 teaspoon ground cummin
3 table spoons soy sauce

How to

Boil the quinoa as described on the package. Have the boiled mung beans, boiled quinoa, cashew nuts, and spices in a food processor, and mix the ingredients together. Add the soy sauce, and mix into a dough.

This is how the dough should look like when ready. Photo: Mittens and Sunglasses © 2018
This is how the dough should look like when ready.
Photo: Mittens and Sunglasses © 2018

Make patties from the dough (1 tablespoon should make one burger), and fry them on medium heat when golden.

Serve with roasted vegetables and a gravy, with spaghetti and a tomato sause, or like us, with mushroom risotto and a salad.

Enjoy!

Burgers served with mushroom risotto and salad. Photo: Mittens and Sunglasses © 2018
Burgers served with mushroom risotto and salad.
Photo: Mittens and Sunglasses © 2018

Elin’s Chana Masala

I simply love Indian food, and chickpeas are among my favourite ingredients. One of my favourite dishes is chana masala, and here’s my super simple recipe. It is, of course, 100 % plant based, vegan, and gluten free. This recipe is meant for two persons, so if you’re four, make a double portion.

Ingredients
1 can tinned cickpeas (ca 500 g)
4 tablespoon rapeseed (or sunflower) oil
2-3 cm piece of fresh ginger
1 red or yellow onion
1 fresh chilli
2-3 tomatoes
1 teaspoon garam masala
1 teaspoon salt
1 tablespoon lime juice
Finely chopped, fresh coriander (to taste)

How to
Pour the brine of the cickpeas into a cup or a small bowl (to be used later).
Peel the onion and the ginger, and cut the onion into two halves. Cut off the stem of the chilli.
Put the onion, ginger, and the chilli into a foodprocessor, and run until it’s all finely chopped.
Heat the oil in a pot. Pour the onion, ginger and chilli into the pot, and fry on a medium heat until the onion is golden.
Cut the tomatoes (use the foodprocessor), por them into the pot, and bring to a boil. Add garam masala and salt, and let this simmer for a few minutes.
Add the chickpeas, stil well, and bring to a boil. Let this simmer for a few minutes.
At the brine of the chickpeas, stir, and bring to a boil. Let this simmer for 30 – 45 minutes. Stir it every now and then, so it doesn’t burn.
Add the lime juice and the coriander, and simmer for 1 – 2 minutes.

I recommend serving this dish with rice.

A plate with chana masala, yellow rice, soy yoghurt, mango chutney, and naan.
Chana masala served with yellow rice, soy yoghurt, mango chutney, and naan.
Photo: Mittens and Sunglasses © 2021

Recipe for Chickpea Curry

This recipe was originally posted on my Norwegian food blog, but after serving it to some Irish folks, I have been begged (read: asked nicely) to make a translation into English. I was inspired to make the recipe after eating a delicious chickpea curry at the hotel I was staying at during the EasterCon in Bradford in 2013. This recipe is totally dairy and gluten free, so it is suitable for most people, even vegans!

Ingredients
1 teaspoon crushed ginger
1 teaspoon crushed garlic
juice of 1/2 lime
1/2 teaspoon chili powder
1/2 teaspoon garam masala
1/2 teaspoon cardamom
1/2 teaspoon cummin
1 onion
1-2 tablespoons vegetable oil (e.g. rapeseed oil)
1 can (about 400-450 g) chickpeas
2 ripe tomatoes
1 can (about 400 ml) coconut milk

How to
Make a paste of the ginger, garlic, lime juice, chili powder, garam masala, cardamom and cummin in a bowl so that it is ready to be used. This is easily done by mixing it together in a mortar or small bowl.

Finely chop the onion in a food processor.
Heat the oil in a thick-bottomed saucepan.
Add the onion and sauté for a few minutes, until soft (not brown).
Finely chop the tomatoes in the food processor. It should look like a sauce.
Add the curry paste to the onions, stir well and sauté.
Add the tomato sauce, bring to a boil and let it simmer for a few minutes.
Add the coconut milk, bring to a boil.
Drain the chickpead well, them add them to the rest, and cook until the coconut has reduced.
Season with salt and pepper.
Remember to stir the curry every now and then so it doesn’t burn.

The curry goes well with brown rice
Photo: Mittens and Sunglasses © 2015